For many home pizzaiolos, the most nerve-wracking moment isn’t kneading the dough or simmering the sauce—it’s the “launch.” That split second when your beautifully topped creation must transition from the peel to the oven stone. At PizzaCream, we know that a successful launch is the difference between a gourmet masterpiece and a “pizza calzone” disaster. Mastering the pizza peel is an essential skill that separates the amateurs from the pros.
Wooden vs. Metal: Know Your Tools
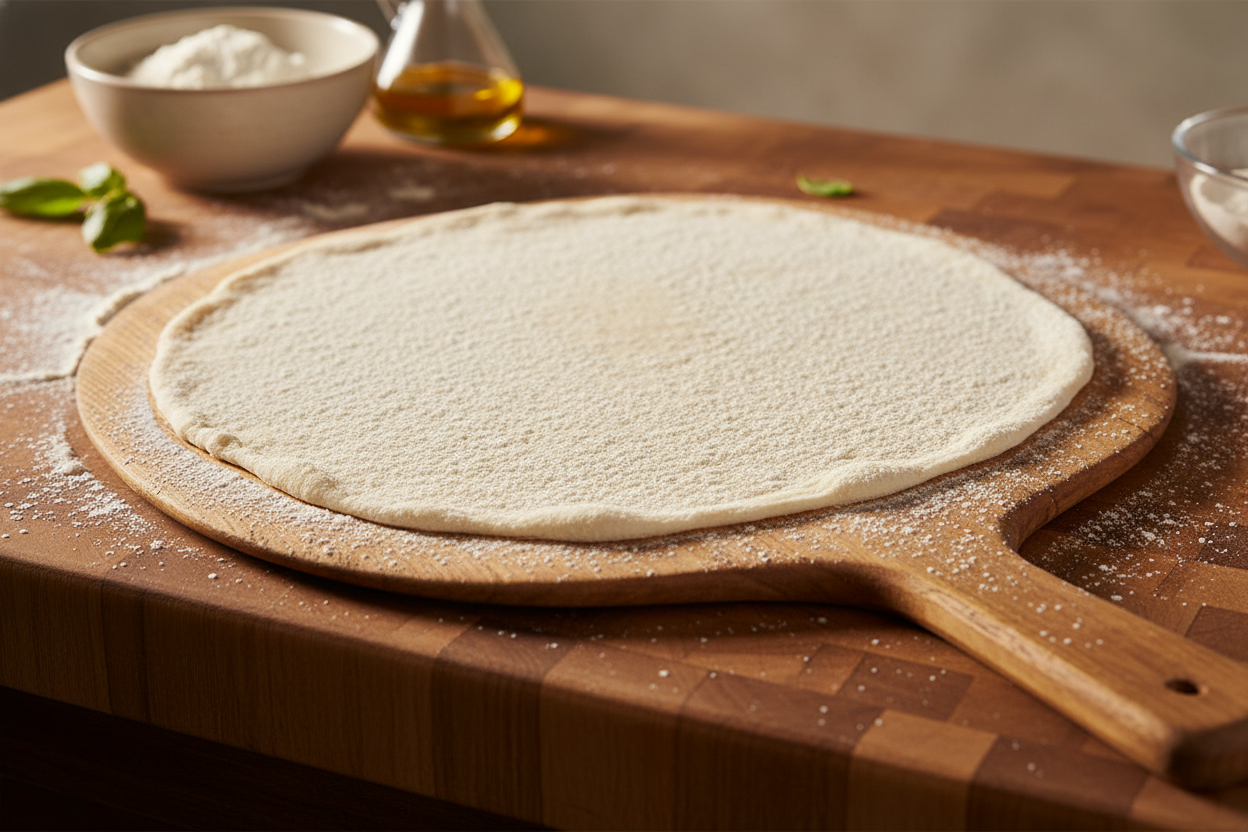
The first mistake many beginners make is using the wrong peel for the wrong job. In a professional kitchen, you will almost always see two types of peels. The wooden peel is your “prep” surface. Because wood is porous, it absorbs moisture from the dough, making it less likely to stick while you are adding your toppings. It is the best tool for building and sliding the pizza into the oven.
The metal peel, on the other hand, is designed for retrieval and rotation. Its thin profile allows it to slide effortlessly under the baked crust. Using a metal peel for prep is risky; the cold surface can cause condensation, leading to the dreaded “sticky dough” syndrome. If you’re building your toolkit, check out our guide on Essential Pizza Making Tools to understand the full array of equipment you need.
The Secret to a Non-Stick Surface
The enemy of a perfect launch is moisture. Even if you’ve mastered The Art of the Perfect Pizza Dough, a high-hydration dough will try to bond with your peel the moment it touches it. To prevent this, you need a “bearing” layer.
A light dusting of semolina or coarse cornmeal acts like tiny ball bearings, allowing the dough to glide. However, be careful not to overdo it, as excess flour can burn in the oven and leave a bitter taste. Understanding your ingredients is key; our Ultimate Guide to Pizza Flour explains how different grinds affect the stickiness and texture of your base.
The Launch: The ‘Shimmy’ Technique
Before you even approach the oven, perform the “shimmy test.” Give the peel a small horizontal shake. If the pizza moves freely, you’re ready. If it sticks, lift the edge of the dough and blow a little air underneath or add a pinch more flour.
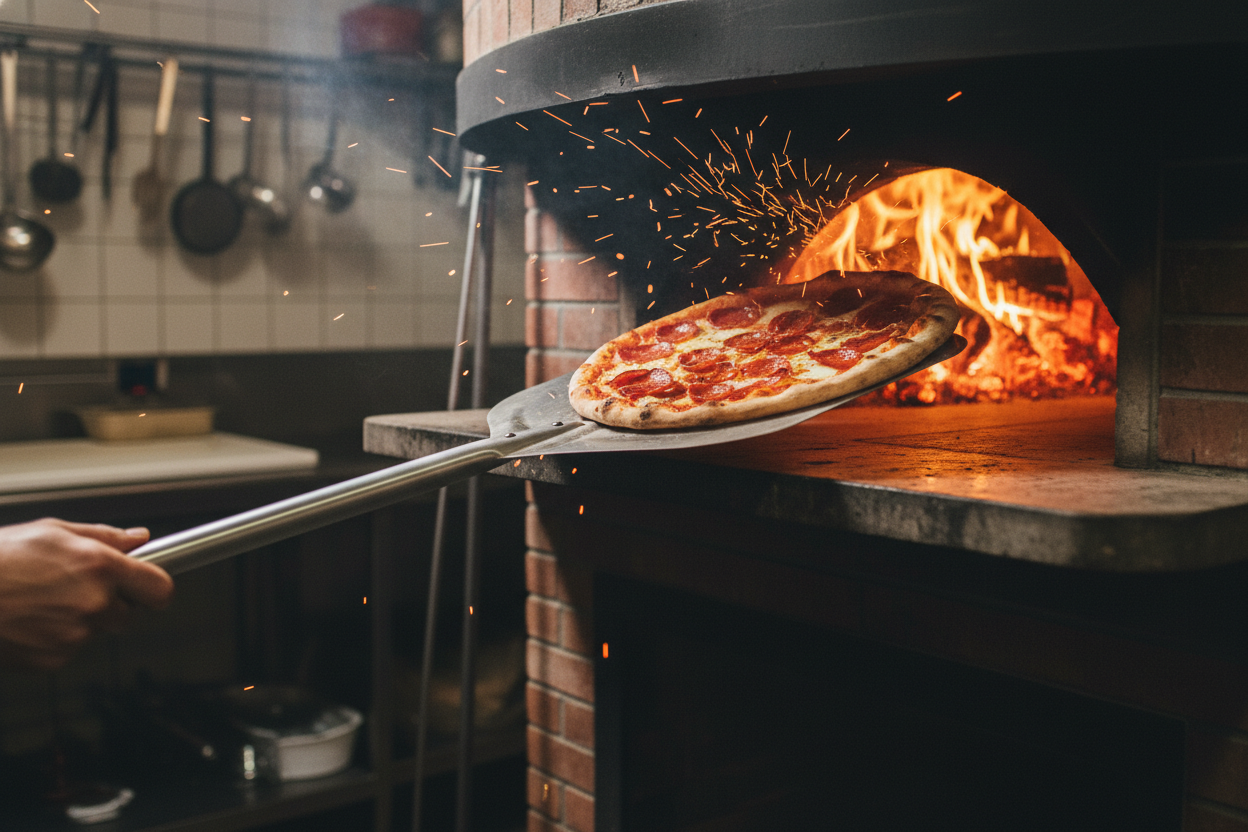
When you launch, aim for the back of the stone. Use a confident, swift “jerk and pull” motion. Start the movement forward, then abruptly pull the peel back. Gravity and inertia will do the rest, leaving your pizza perfectly centered on the hot surface.
Post-Launch: Rotation and Retrieval
Once the pizza is in, the clock starts. Use your metal peel to rotate the pie every 30-45 seconds to ensure an even char. A perforated metal peel is particularly useful here, as it allows excess flour to fall through the holes rather than burning on the stone. With a little practice, the peel will feel like an extension of your arm, turning the “launch” from a moment of fear into a moment of triumph.