Ice Cream Storage Secrets: How to Prevent Freezer Burn and Keep Your Scoops Smooth
There is a specific kind of heartbreak reserved for the moment you open a pint of premium ice cream, expecting a velvety landscape of cream and sugar, only to find it covered in a layer of jagged, crunchy ice crystals. This phenomenon, known as freezer burn, is the ultimate enemy of the dessert lover. It transforms a luxurious treat into a gritty, icy disappointment that lacks the mouthfeel you paid for. Whether you are indulging in a pint of high-end artisanal ice cream or a homemade batch, understanding how to protect your dessert is essential for maintaining that perfect texture.
The Science of Freezer Burn
To defeat freezer burn, you must first understand what it is. At its core, freezer burn is a matter of physics—specifically, sublimation and temperature fluctuations. Ice cream is a complex emulsion of air, water, fat, and sugar. When the temperature in your freezer fluctuates (which happens every time you open the door), the tiny ice crystals within the ice cream melt slightly. When the temperature drops again, that moisture refreezes. However, instead of returning to their original microscopic size, they join together to form larger, grainier crystals.
Furthermore, when air reaches the surface of the ice cream, moisture evaporates from the frozen product and migrates to the coldest surface available—usually the walls of the freezer or the top of the pint. This leaves behind “dry” spots that are tough and chewy, while the migrated moisture turns into the frost you see on top. Understanding the science of the perfect scoop reveals that maintaining a stable, ultra-cold environment is the only way to keep these delicate structures intact. Without proper intervention, the air and heat will slowly dismantle the creamy integrity of your favorite flavor.
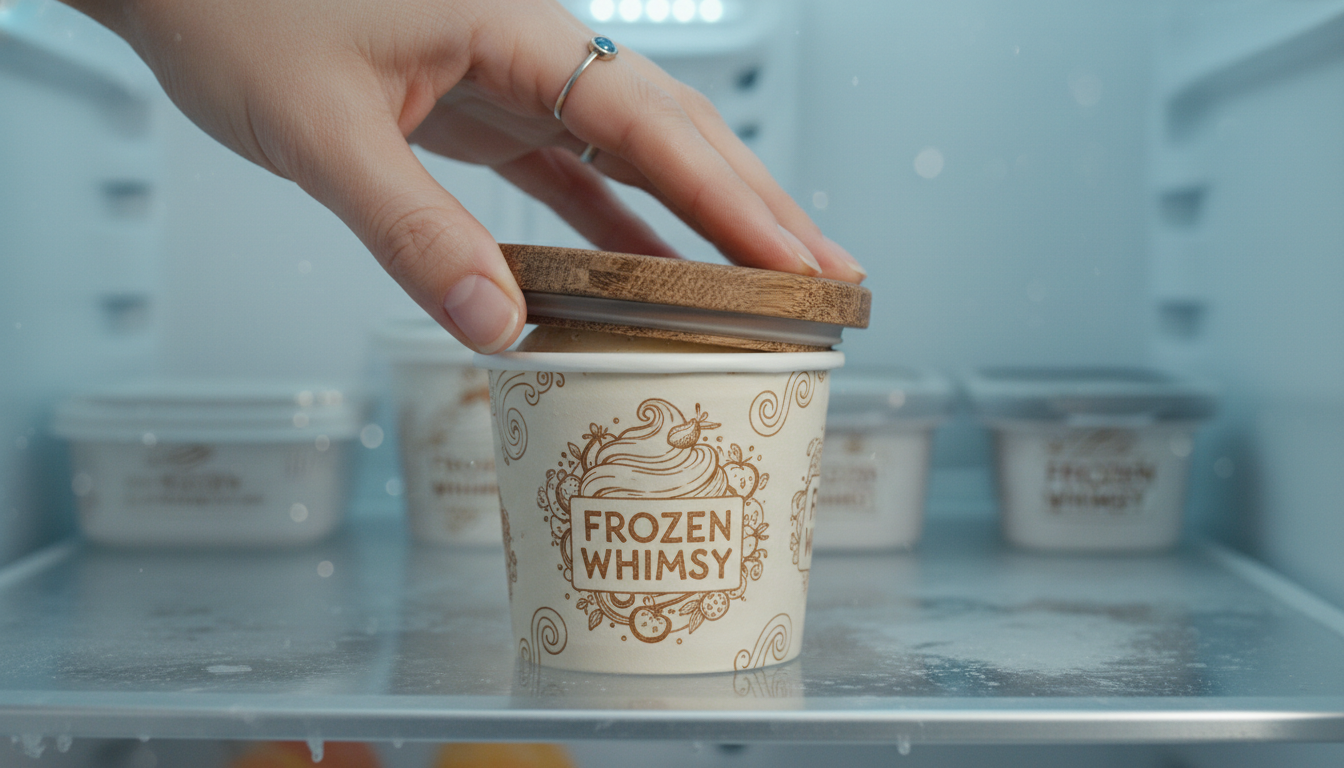
Best Practices for Home Storage
The way you organize your freezer can make or break your ice cream’s shelf life. The first rule of thumb is temperature: your freezer should be set to 0°F (-18°C) or lower. Anything warmer accelerates the growth of ice crystals.
Location is equally critical. Never store your ice cream in the freezer door. The door is the warmest part of the unit and is subject to constant temperature swings every time the seal is broken. Instead, tuck your pints into the very back of the freezer, ideally on a lower shelf where the air is coldest and most stable.
One of the most effective “hacks” for long-term storage is the “upside down” trick. Before putting a partially eaten pint back in the freezer, ensure the lid is tight and flip it upside down. This causes any melted ice cream to drip onto the lid, creating a vacuum seal that prevents air from reaching the main body of the dessert. This simple inversion can double the lifespan of your pint by keeping the surface protected from the air inside the container.
Containers Matter
While the cardboard containers that most ice cream comes in are fine for short-term consumption, they are not designed for long-term preservation. Cardboard is porous, meaning it allows air to seep in over time. If you plan on keeping a flavor for more than a few days, consider transferring it to a dedicated storage vessel.

The best containers for ice cream are airtight, insulated, and shallow. A long, narrow tub is ideal because it provides more surface area for even freezing and makes for a much easier “long-draw” scoop. If you prefer to keep the original packaging, you can create a secondary barrier by pressing a piece of plastic wrap or wax paper directly onto the surface of the ice cream before replacing the lid. This eliminates the “headspace” of air that causes frost to form on the surface. As we look toward the future of ice cream, we may see more advanced packaging solutions, but for now, a simple layer of plastic wrap remains the gold standard for home preservation.
Reviving ‘Hard’ Ice Cream
We have all experienced the frustration of wanting a scoop but finding the ice cream frozen into a solid, impenetrable block. The temptation is to stick the whole pint in the microwave or leave it on the counter for twenty minutes. Both are mistakes. Leaving it on the counter causes the edges to melt completely while the center remains hard, leading to a refreezing cycle that ruins the texture for next time.
The best way to soften ice cream is to move it to the refrigerator for 10 to 15 minutes. This allows the temperature to rise evenly throughout the container without reaching the melting point. If you are in a rush, dip your ice cream scoop in a bowl of hot water, wipe it dry, and then scoop. The heat from the metal will glide through the fat and sugar without compromising the structure of the remaining portion in the tub.
Conclusion: Enjoying the Perfect Scoop
Ice cream is a delicate balance of chemistry and culinary art. By controlling the environment—minimizing air exposure, stabilizing temperatures, and using the right containers—you can ensure that every spoonful is as fresh as the day it was churned. Don’t let freezer burn rob you of your dessert experience. With these storage secrets in your arsenal, you can protect your investment and enjoy a smooth, professional-quality scoop every single time you reach into the freezer.