Creating stunning, high-end visuals doesn’t require a Hollywood budget. The most compelling films ever made were born out of necessity, ingenuity, and an obsession with the craft — not expensive gear. Whether you’re shooting a short film, a brand commercial, or a documentary, the principles of professional-looking cinematography are accessible to anyone willing to learn them.
In this guide, we break down the core techniques that separate polished, cinematic footage from amateur video — and how you can apply them on a shoestring budget.
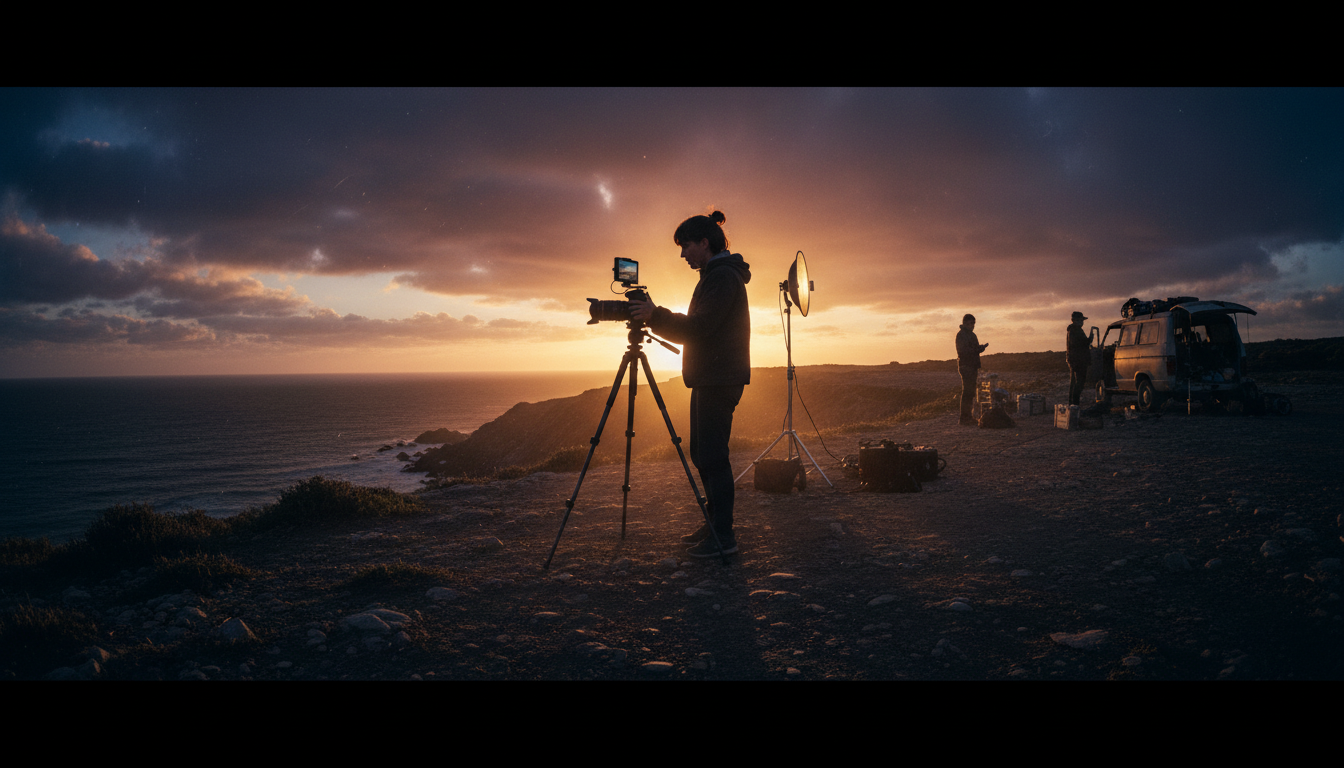
1. Master Natural Light Before You Buy a Single Light
The biggest secret in budget filmmaking? The sun is free. Golden hour — the 30–60 minutes after sunrise and before sunset — produces soft, directional, warm light that would cost tens of thousands of dollars to replicate in a studio. Plan your shoots around it.
Use reflectors (a $20 piece of white foam board works perfectly) to bounce light onto your subject’s shadow side. Position your subject with the sun slightly behind and to the side for a beautiful rim-light effect that separates them from the background. Learn to read light direction, quality (hard vs. soft), and color temperature — these are the skills that distinguish great cinematographers from average ones.
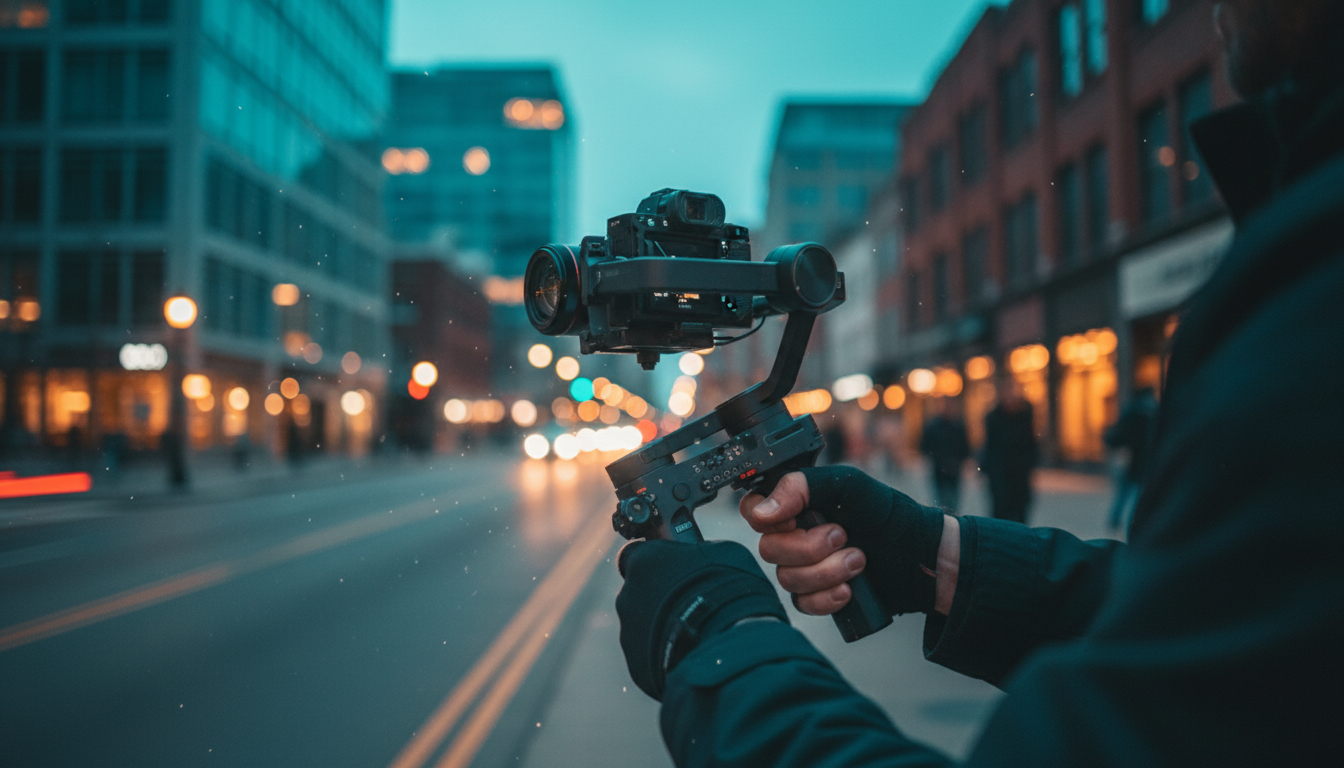
2. Stabilization: The Difference Between Amateur and Pro
Shaky footage instantly reads as amateur. One of the highest-ROI purchases a budget filmmaker can make is a 3-axis gimbal stabilizer. Modern gimbals from brands like DJI or Zhiyun cost a few hundred dollars and eliminate camera shake entirely — giving your handheld shots a smooth, cinematic quality that rivals Hollywood productions.
But even before buying a gimbal, you can dramatically improve your footage for free. Use your body as a stabilizer: tuck your elbows into your chest, bend your knees slightly, and move from your hips. Walk heel-to-toe. Breathe slowly. Practice static shots before attempting moving ones. A $5 phone mount on a cheap slider can open up creative angles you’d never achieve on a traditional tripod.
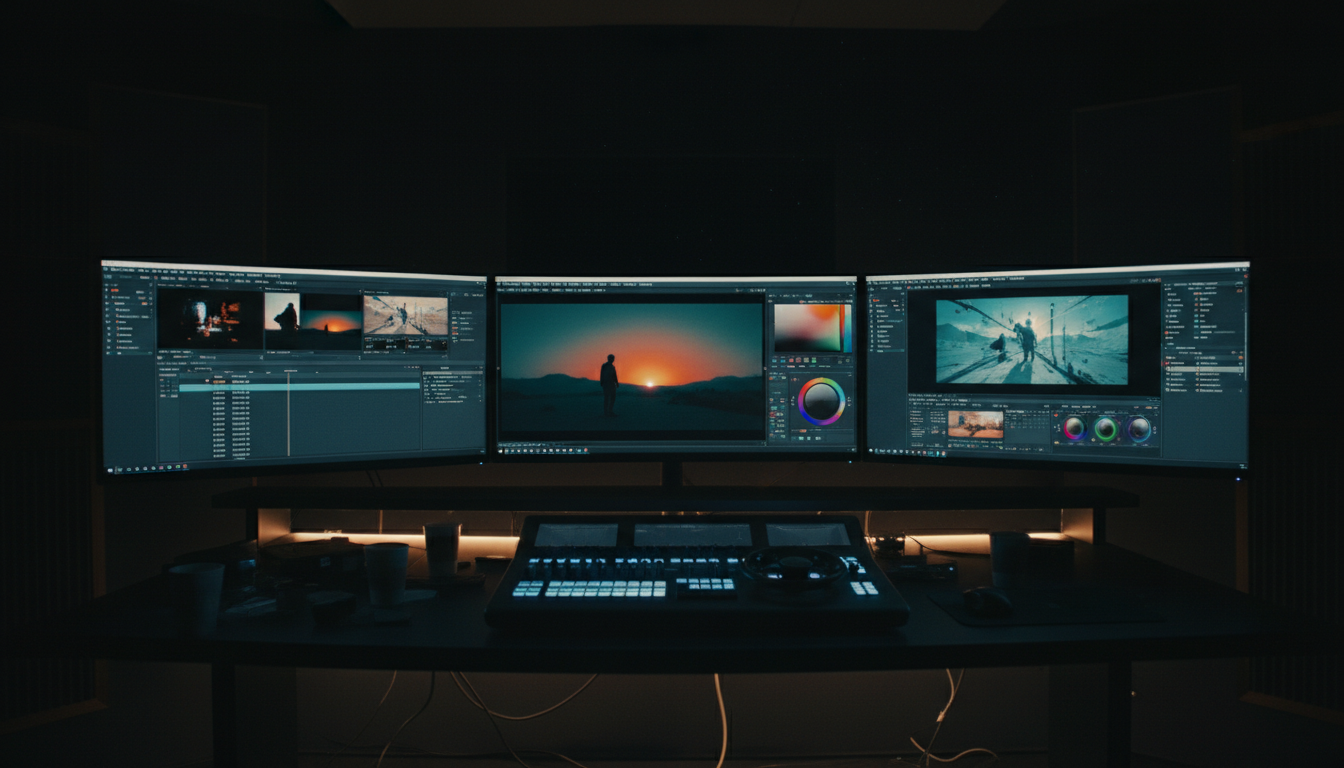
3. Shoot Flat, Grade in Post: The Color Science Secret
Most modern cameras — even budget mirrorless models and smartphones — allow you to shoot in a flat or “log” color profile. This captures more dynamic range (detail in highlights and shadows) at the cost of a washed-out, grey image straight out of camera. Don’t be alarmed: this is intentional.
In post-production, you apply a LUT (Look-Up Table) or manually grade the footage in free software like DaVinci Resolve to bring out rich, deep colors with controlled contrast. The iconic teal-and-orange look that dominates modern cinema? It’s a grading choice — not something that costs money to achieve. Free LUT packs are widely available online, and learning basic color grading in DaVinci Resolve (which is completely free) will elevate your footage more than any new lens.
4. Sound Is Half the Picture
Audiences will forgive slightly soft focus or imperfect exposure, but they will not forgive bad audio. In tests, the same video clip is consistently rated as “higher quality” when paired with good audio versus poor audio. A $50–100 lavalier microphone or a directional shotgun mic mounted on your camera will transform your production value overnight.
Record ambience (natural room tone or outdoor environment sounds) separately for at least 30 seconds on every location. In post, layer this under your dialogue to create a seamless, immersive soundscape. Avoid shooting near air conditioning units, busy roads, or wind without a proper windscreen on your mic.
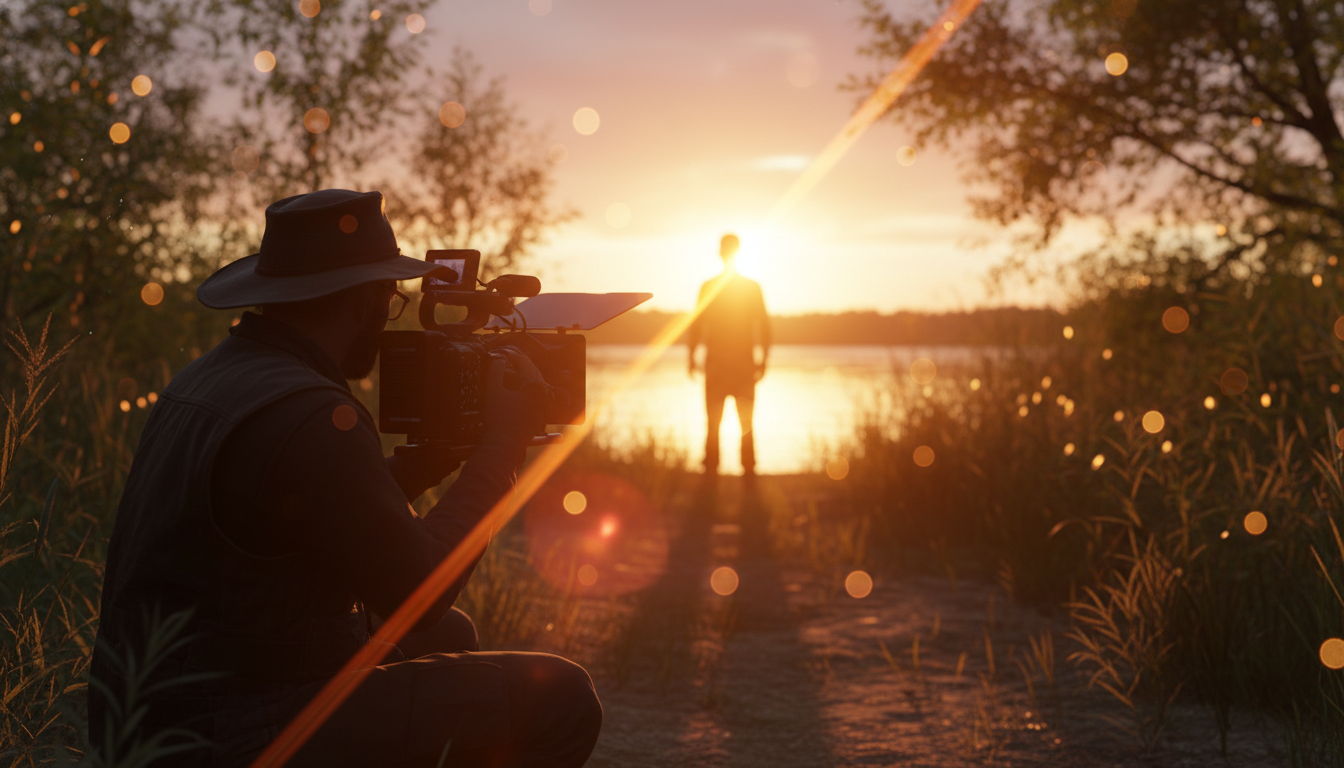
5. Location Scouting: Your Most Powerful Production Design Tool
A great location is worth more than a great set. Spend time finding places with interesting textures, natural depth, and built-in lighting opportunities. Industrial warehouses, old libraries, forest trails, rooftops, and abandoned buildings (with permission) offer visual complexity that no studio set can match at budget price.
Visit locations at the same time of day you plan to shoot, so you know exactly how the light behaves. Take photos on your phone for reference. Look for foreground elements — a chain-link fence, tall grass, a pillar — that you can shoot through to add cinematic depth and framing to your shots.
The Bottom Line
Budget filmmaking is ultimately about creative problem-solving. Every constraint is an invitation to find a smarter solution. Natural light beats expensive LEDs. A gimbal beats a crane. A great location beats a built set. DaVinci Resolve beats a $600/year color grading suite. The tools have never been more accessible — the only thing separating your next project from a professional-looking film is the time you put into learning the craft.
Start shooting. Make mistakes. Watch your footage critically. Improve. Repeat. That’s the real budget filmmaker’s workflow.